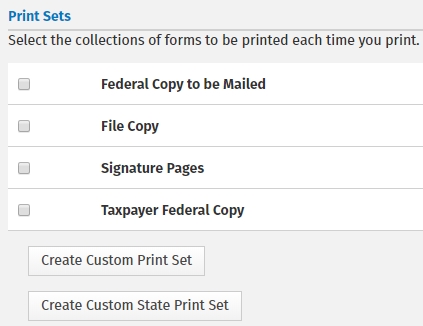
State print sets

State print sets allow you to create a collection of forms to print for your state returns. The Admin or a user with the Administrator role can determine which forms and how many of each form to print.

To create a state print set, use the following steps:

  1. Log in as the Admin or a user with the Administrator role.
  2. Click your name on the top right of the screen and select Settings.

  1. Click General Settings.
  2. Click Print Sets in the Administrator Settings.

  1. Click Create Custom State Print Set.
  2. Enter a name for your Custom State Print Set.
  3. Expand the desired state(s) by clicking the plus (+) icon to the left of the state abbreviation.
  4. Select the check box(es) next to the form(s) desired for your state print set or select the check box next to the state abbreviation to include all forms for that state.
  5. Move the selected forms from the Available Forms window to the Selected Forms window by clicking the Add > button.

Once the desired 'Set' of forms is displayed in the Selected Forms window, you can determine how many copies of each form will be printed by selecting the form(s) and clicking +1 Copy to add copies or -1 Copy to subtract copies. You can also change the print order of your forms by selecting the desired form(s) and clicking Up or Down to move the selected form(s) higher or lower in the print order.
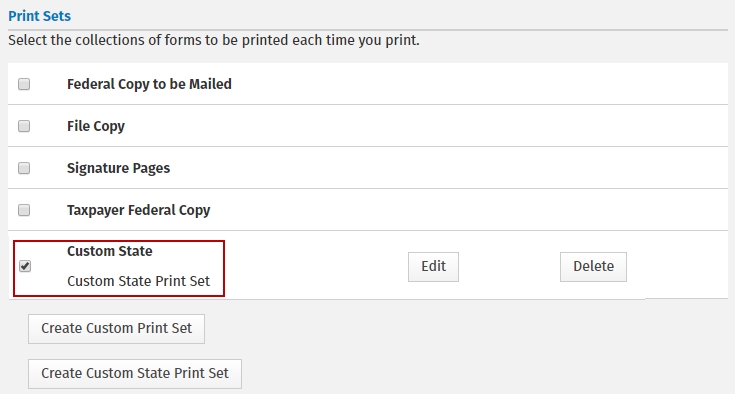
  1. Click Save and Close.

Your custom state print set may be edited at any time by clicking the Edit button.

See Also:

Administrator settings

Print sets

Custom print sets